The Guide to Soldering a Ball Valve
Introduction to Soldering a Ball Valve
Soldering a ball valve is a fundamental skill for anyone interested in DIY plumbing or electronics projects. In this beginner’s guide, we will explore the step-by-step process of soldering a ball valve, including tips for heating the valve evenly, removing the handle if necessary, and venting the line to avoid pressure buildup. Whether you’re a hobbyist or a professional, mastering the art of soldering is essential for various applications. Join us as we delve into the basics of soldering a ball valve.
What is written here is purely for informational purposes. If you are not a professional, do not do this procedure!
Understanding the Basics of Soldering a Ball Valve
Soldering is a fundamental skill for anyone interested in DIY projects or repairs involving electronics, plumbing, or metalwork. It involves joining two metal components together using a filler metal, known as solder, which has a lower melting point than the workpieces. This creates a strong and lasting bond without melting the workpieces themselves.
What is Soldering?
Soldering is the process of using a heated tool to melt and flow solder between two metal parts, forming an electrical and mechanical bond. It’s commonly used in electronics to connect electrical components and in plumbing to seal joints. The solder creates a conductive and corrosion-resistant joint, essential for ensuring the integrity of the connection over time.
Tools Needed for Soldering a Ball Valve
When soldering a ball valve, it’s important to have the right tools for the job. You will need a few key items, including:
- Soldering Iron: A tool with a heated metal tip that melts the solder and allows you to flow it into the joint.
- Solder: A combination of tin and lead that melts at a relatively low temperature and creates a strong bond between the metal parts.
- Flux: A chemical cleaning agent that helps the solder flow and bond to the metal surfaces by preventing oxidation.
- Cleaning materials: Emery cloth or fine sandpaper to clean the surfaces to be soldered and remove any oxidation or debris.
- Safety equipment: Such as safety goggles and heat-resistant gloves to protect yourself from potential hazards during the soldering process.
By understanding the basics of soldering and having the necessary tools, you can confidently proceed with soldering a ball valve or other similar projects, ensuring a secure and durable connection.
Preparation for Soldering a Ball Valve
When it comes to preparing to solder a ball valve, certain precautionary measures need to be taken into consideration to ensure safety and the efficient functioning of the valve and piping system.
Safety First – Before Soldering a Ball Valve
Prioritize safety by wearing protective gear, including gloves and safety goggles. Always work in a well-ventilated area to avoid inhalation of fumes.
Choosing the Right Ball Valve and Solder
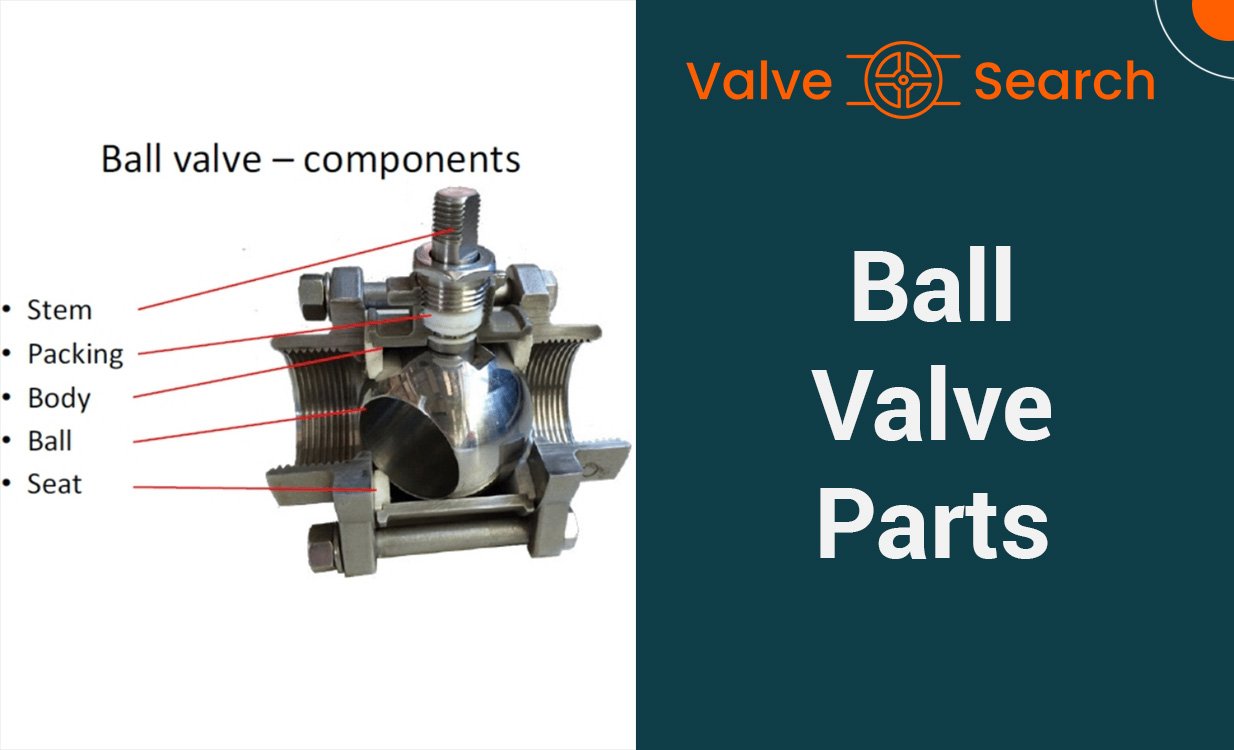
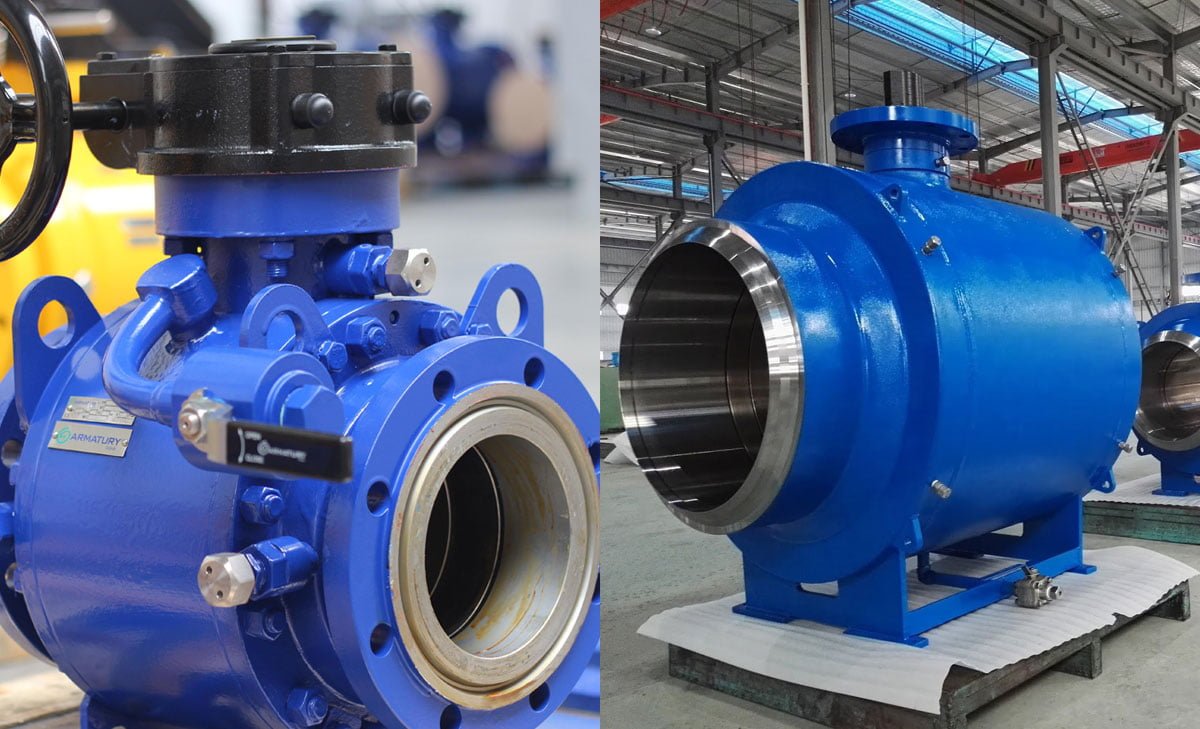
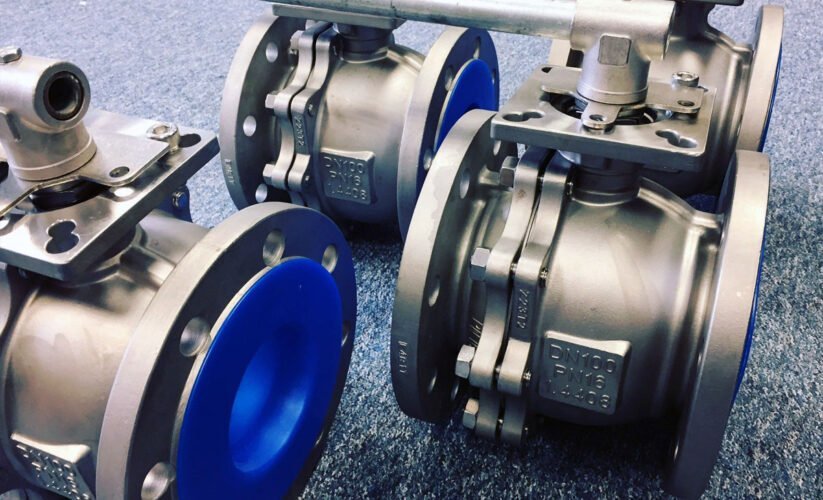
Select a ball valve that suits the specific requirements of your system. Ensure that the solder you use is compatible with the materials being joined and meets the necessary standards for potable water systems.
Cleaning and Prepping the Valve and Pipe
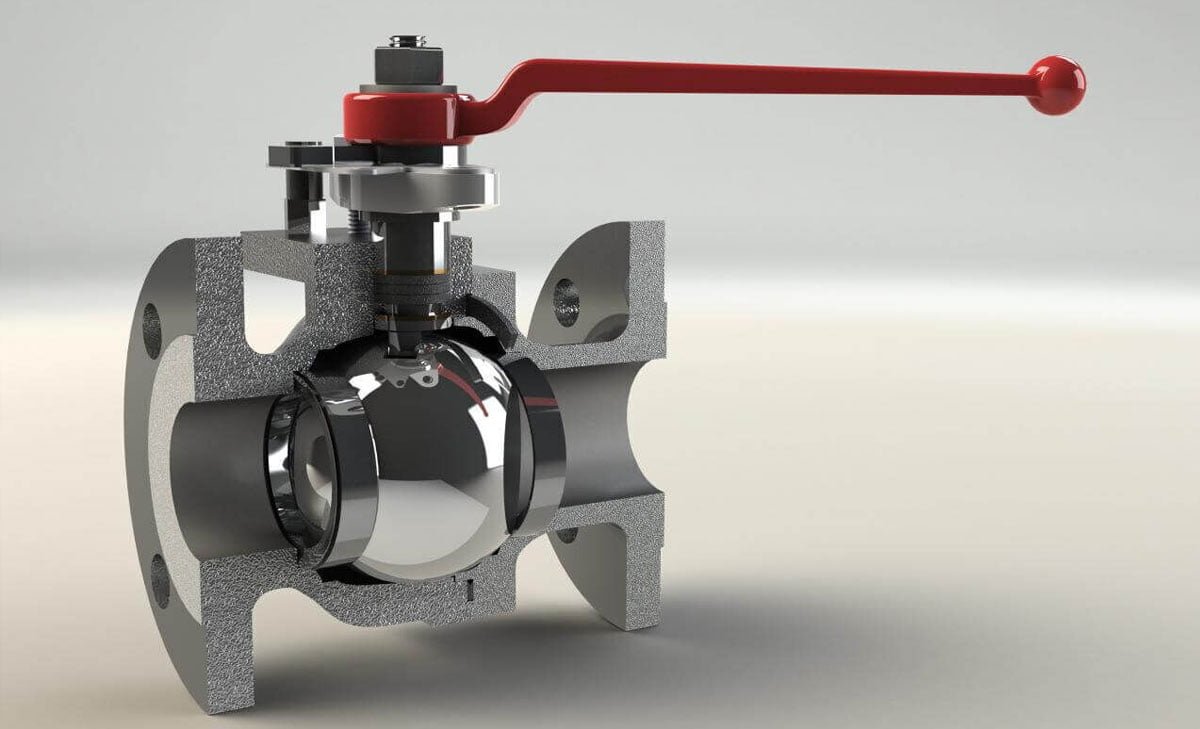
Thoroughly inspect the ball valve ports, seating surfaces, and sockets to ensure they are free of any foreign debris. Clean the copper pipe ends that will be soldered into the valve, ensuring they are square cut, clean, and free of burrs or metal shavings. Clean the inside of the valve solder sockets and the outside of the pipe ends using steel wool or emery cloth. Apply a coating of flux paste to the inside of the valve solder sockets and the outside of the pipe ends, covering the entire area to be soldered.
By adhering to these preparation steps, you can ensure a smooth and effective soldering process for the ball valve.
The Step-by-Step Soldering a Ball Valve Process
Step 1: Choose the Right Solder
When soldering a ball valve, the ideal solder to use is a lead-free 60/40 rosin core solder with a diameter of .032″. It’s crucial to avoid solder that contains lead, and always take the necessary precautions when working with lead-based materials.
Step 2: Prepare the Soldering Iron
Before beginning the soldering process, it’s essential to turn on the soldering iron and allow it to heat up to the appropriate temperature. If you have an adjustable-temperature soldering iron, set it to around 300 – 350 degrees. If your soldering iron is not adjustable, allow it to heat up for approximately five minutes.
Step 3: Handle the Soldering Iron Correctly
Always handle the soldering iron by the insulated handle to avoid burns. It’s essential to be mindful of safety when using the soldering iron, and it’s recommended to hold it as you would hold a pen for better control and comfort.
Step 4: Properly Store the Soldering Iron
When not in use, always place the soldering iron back onto the soldering iron stand. This simple practice helps prevent accidents and ensures a safe working environment.
Step 5: Tinning the Tip – Final Step of Soldering a Ball Valve
To ensure optimal soldering performance, it’s important to “tin” the soldering iron tip by melting a thin coat of solder onto it. This helps create a base for effective solder flow during the actual soldering process.
By following these steps, you can effectively solder a ball valve and ensure a secure and reliable connection.
Tips for Soldering a Ball Valve Successfully
Keeping the Valve Open During Soldering
When soldering a ball valve, it’s crucial to keep the valve open to prevent any accidental damage from the heat. Ensure that the valve is in the fully open position to allow any heat to dissipate and prevent any warping or damage to the valve components during the soldering process.
Dealing with Heat Buildup in the Valve
Heat buildup within the valve during soldering can lead to several issues, including damage to internal components or even the melting of any seals or fittings within the valve. To manage this, it’s essential to work efficiently and use a heat-absorbing material or heat sink to minimize the transfer of heat to sensitive areas. Additionally, it’s advisable to use a lower temperature soldering iron to minimize the risk of excessive heat buildup.
Final Connection
After completing the soldering process, it’s important to verify the integrity of the joints and connections. Double-check that the solder has adhered properly to create a secure bond. This step ensures that the valve will operate effectively without any leaks or malfunctions due to a poorly executed solder joint.
Post-Soldering
Once the soldering is complete, it’s vital to clean the soldered joints to remove any residue or flux that may have accumulated during the process. This not only ensures a neat finish but also prevents any potential corrosion or interference with the valve’s functionality. A thorough inspection of the soldered connections is also recommended to confirm the quality and integrity of the solder joints.
By adhering to these tips, you can enhance the success of soldering a ball valve, ensuring a reliable and durable connection without compromising the valve’s functionality.
Common Mistakes and How to Avoid Them
Not Heating the Valve Enough
When soldering a ball valve, one common mistake is not heating the valve enough. Inadequate heat will result in a weak bond, leading to potential leaks and inefficiency. To avoid this, ensure that the valve is heated evenly by directing the heat source across the entire valve surface. Utilize a soldering torch with an appropriate flame intensity and maintain consistent movement to evenly distribute the heat.
Overheating and Damaging the Valve
Conversely, overheating the valve can lead to irreversible damage. Excessive heat can distort the valve components, compromise its functionality, or even cause the solder to fail. Prevent overheating by monitoring the temperature closely, using a heat-diffusing clamp to disperse heat, and allowing the valve to cool gradually to preserve its structural integrity.
Applying Too Much or Too Little Solder
Another mistake to avoid is applying the incorrect amount of solder. Applying too much solder can lead to excess buildup, interfering with the valve’s operation, while too little solder may result in an inadequate seal, leading to leaks. Achieve the optimal solder application by using the right flux-to-solder ratio, ensuring a smooth and uniform distribution, and removing any excess solder promptly to maintain precision.
Ignoring Safety Measures
Ignoring safety measures during the soldering process poses a significant risk. Failure to use protective gear, improper handling of hot equipment, or neglecting ventilation can lead to personal injury or hazardous working conditions. Prioritize safety by wearing heat-resistant gloves, safety goggles, and working in a well-ventilated area. Additionally, adhere to best practices for handling hot tools and materials to minimize potential health and safety hazards during soldering.
Conclusion on Soldering a Ball Valve
Soldering a ball valve requires patience, precision, and attention to detail. Ensuring the valve is open, heating the joint evenly, and removing any obstacles in the way are crucial steps for successful soldering. Venting the line and taking care during the cleaning process are also essential to avoid pressure build-up and ensure a secure connection. By following these steps, you can effectively solder a ball valve and create a durable, reliable joint. Happy soldering!