How to Replace a Ball Valve: Step-by-Step Guide

Introduction
If you’re experiencing a leaky or malfunctioning ball valve, replacing it is a relatively straightforward process that can be completed with basic tools and a bit of know-how. In this guide, we will walk you through the step-by-step process of replacing a ball valve, ensuring that you can tackle this common plumbing task with confidence and precision. Whether you’re a seasoned DIY enthusiast or a novice homeowner looking to expand your repair skills, this tutorial will equip you with the knowledge needed to successfully replace a ball valve.
Understanding Ball Valves
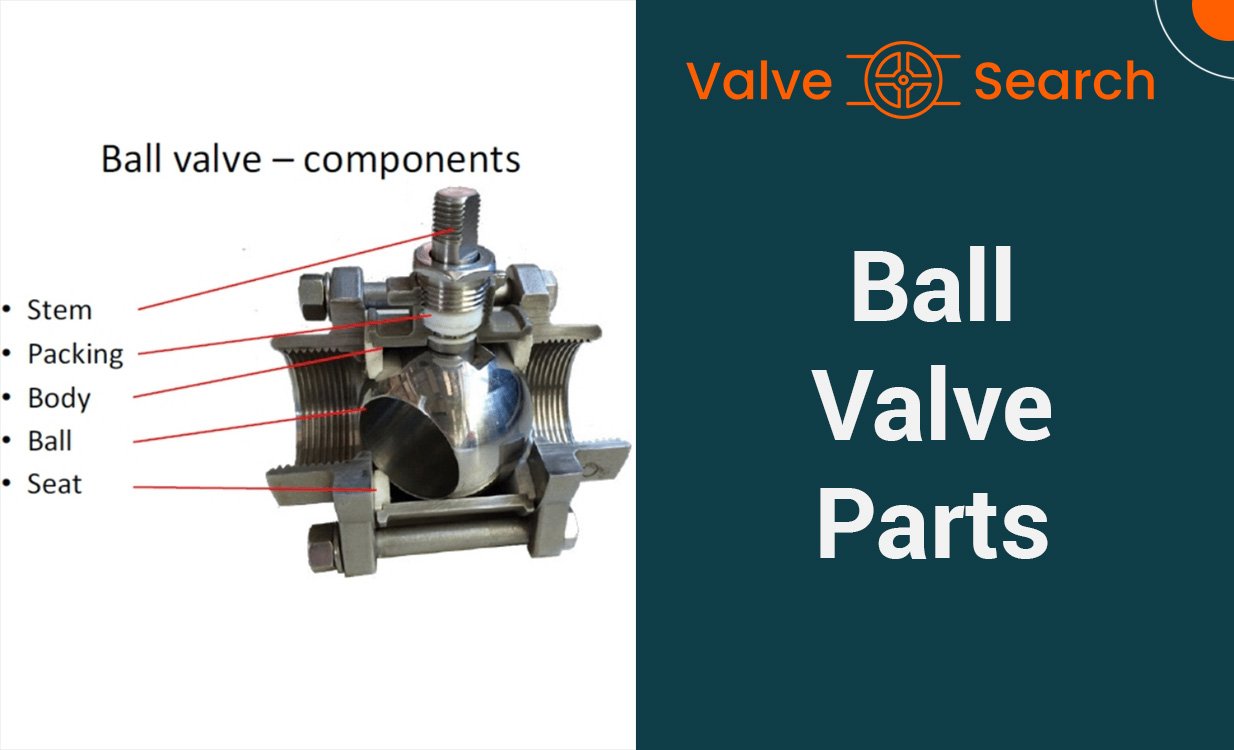
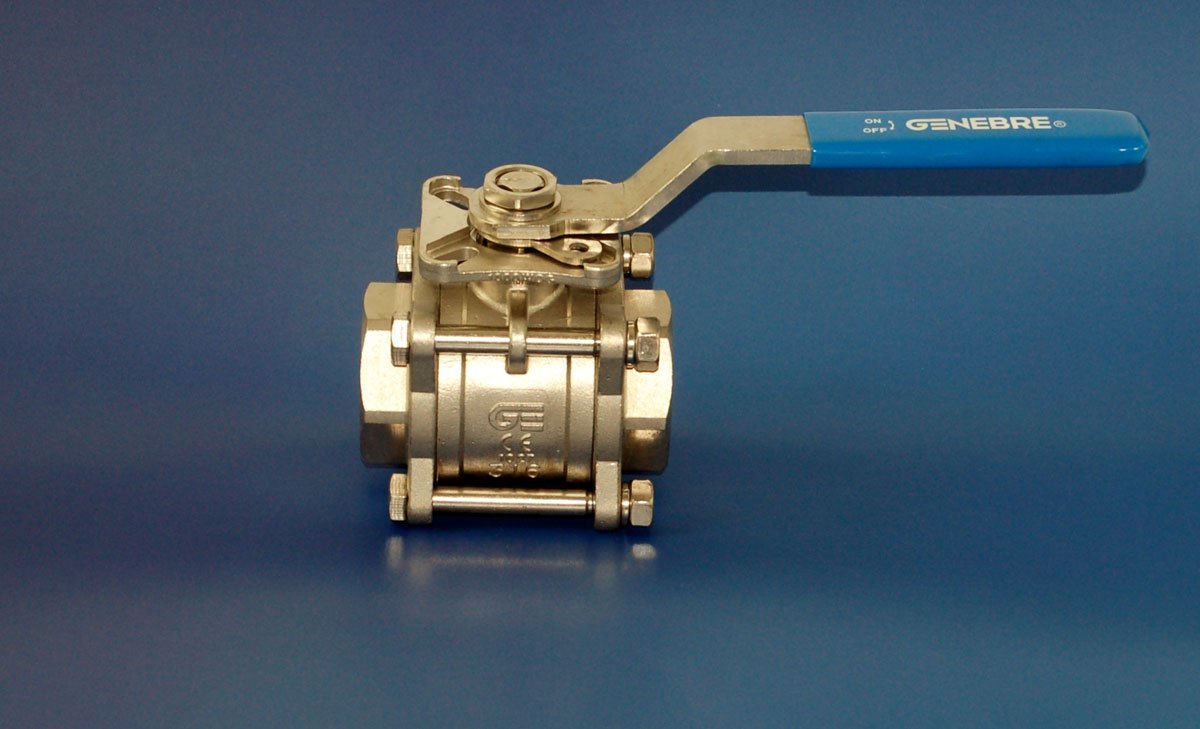
A ball valve is a type of shut off valve used to control the flow of liquids or gases through a hollow, perforated, and pivoting ball with a quarter turn (90 degrees) rotation mechanism. This design allows for efficient regulation of flow. Ball valves are distinguished by their durability, providing reliable sealing even during prolonged periods of inactivity, making them a preferred choice over gate valves for shut off purposes.
What is a Ball Valve?
Ball valves are commonly used in industrial and household applications due to their ability to offer a secure seal and minimal fluid restriction. They are designed to withstand contamination from various media and are ideal for applications where flow control and on/off service are required.
Types of Ball Valves
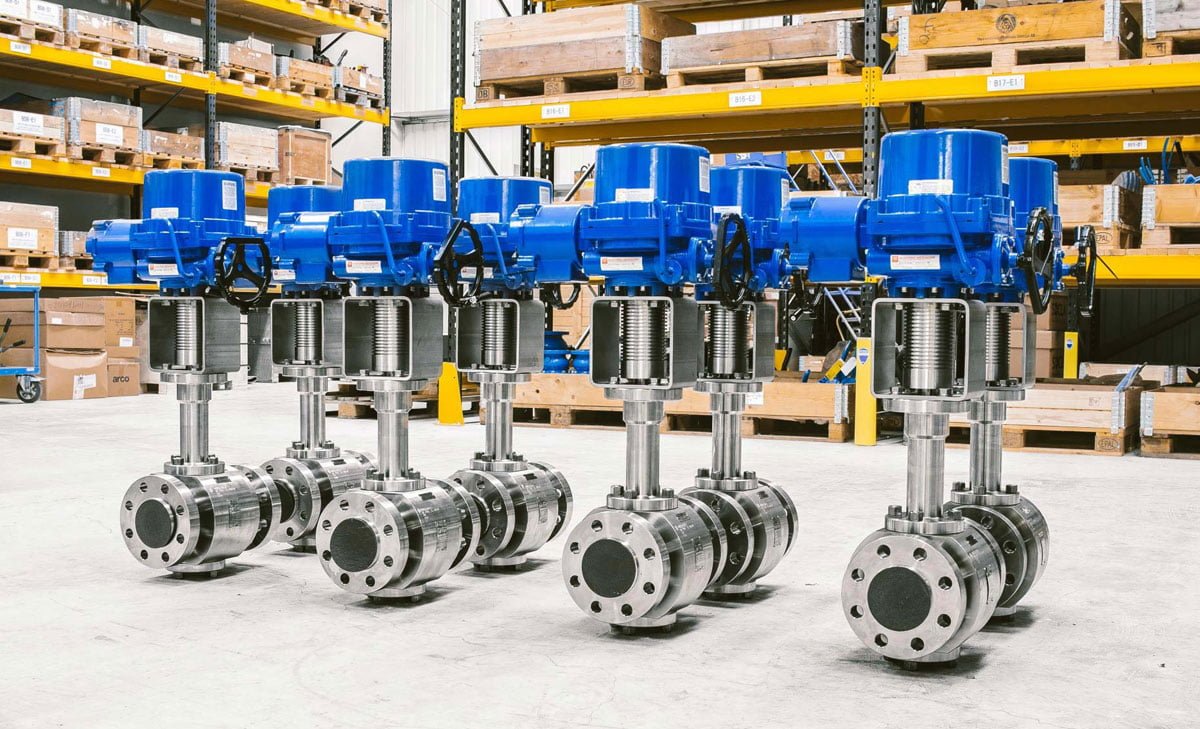
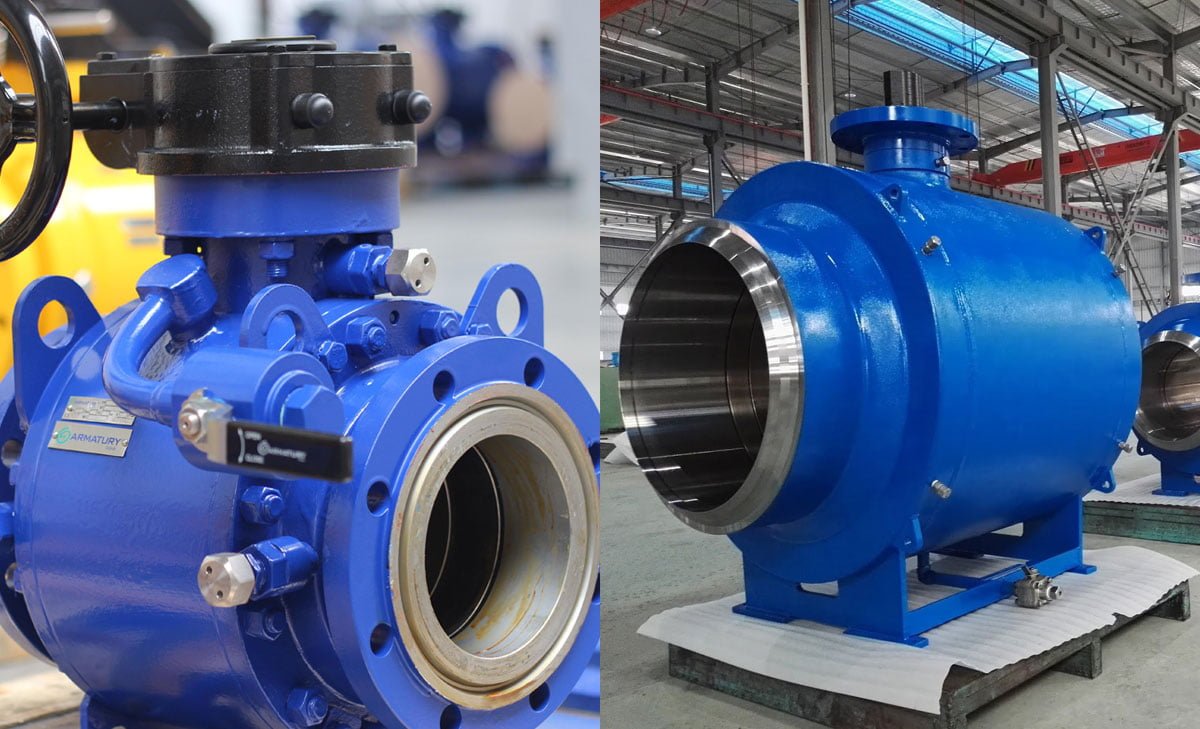
There are various types of ball valves, including standard threaded, automatic, manual, electric, and pneumatic ball valves. Standard ball valves typically consist of the housing, seats, ball, and lever for ball rotation. They come in configurations with two, three, or four ports, and can be female or male threaded, or a combination of both.
Why it is Important to Replace a Ball Valve
Knowing how to replace a ball valve is essential to ensure the continued safety and efficiency of fluid or gas control systems. Over time, ball valves may experience wear and tear, leading to leaks or operational issues. Regular replacement of ball valves can prevent potential failures, ensuring smooth operation and minimizing the risk of system failures.
Tools and Materials Needed to Replace a Ball Valve
To replace a ball valve correctly, it’s essential to have the right tools and materials on hand to ensure a smooth and successful process. Here’s a list of tools you will need:
List of Tools to Replace a Ball Valve
- Adjustable wrench
- Pipe cutter
- Plumber’s tape
- Screwdriver
- Pipe wrench
- Propane torch (for soldering copper pipes)
- Safety goggles
- Gloves
Choosing the Right Replacement to Replace a Ball Valve
When choosing a replacement ball valve, consider factors such as the material of the valve, the size of the pipe it will be installed on, and the specific application. Common materials for ball valves include brass, stainless steel, and PVC. It’s crucial to select a valve that is compatible with the existing plumbing system to ensure a proper fit and functionality.
By having the necessary tools and selecting the right replacement valve, you can proceed with confidence to replace a ball valve.
Preparing to Replace a Ball Valve
Before you replace a ball valve, it is crucial to adequately prepare for the task. Taking necessary precautions and understanding the steps involved will ensure a safe and successful valve replacement process.
Safety Precautions Required to Replace a Ball Valve
First and foremost, prioritize safety by wearing protective gear such as gloves and safety goggles to shield yourself from potential hazards during the replacement. Additionally, ensure the work area is well-ventilated to prevent inhalation of harmful fumes or particles.
Shutting Off the Water Supply
Locate the main water shut-off valve and turn it clockwise to halt the water supply to the entire property. Afterward, open the faucet nearest to the ball valve you are replacing to drain any remaining water in the pipes and relieve pressure in the system.
Draining the System and Valve Area
To prevent water spillage and potential damage, place a bucket or tray beneath the valve area to catch any residual water. Proceed to open the old ball valve to drain any remaining water from the system. This will minimize the mess and facilitate a smoother replacement process.
Remember, thorough preparation is key to a successful ball valve replacement, ensuring a safe working environment and efficient execution.
Removing the Old Valve to Replace a Ball Valve
Cutting Pipe Connections
When replacing a ball valve, the first step is to shut off the water supply to the toilet. This is typically done by turning the valve located on the water line leading to the toilet. Once the water is turned off, the next step is to drain the remaining water in the toilet tank. To do this, simply flush the toilet and hold down the handle until the tank is completely empty.
With the water supply turned off and the tank drained, the next step is to cut the pipe connections to the old ball valve. This can be done using a pipe cutter. Position the cutter over the pipe and tighten it, then rotate the cutter around the pipe. Continue tightening and rotating the cutter until the pipe is cleanly cut. Once the pipe connections are cut, the old ball valve can be removed.
Cleaning Pipe Ends
After the old ball valve is removed, it’s essential to clean the pipe ends before installing the new valve. Use emery cloth or sandpaper to clean the outside of the pipes and remove any burrs or debris. Additionally, clean the inside of the pipes using a pipe cleaning brush to ensure a smooth surface for the new connections.
By following these steps to cut the pipe connections and clean the pipe ends, you can effectively remove the old ball valve and prepare the pipes for the installation of the new valve.
Installing the New Ball Valve
Installing a new ball valve is a crucial step in a plumbing project. It involves positioning the valve correctly, securing it to the pipes, and choosing the appropriate connection method, whether soldering or using threaded connections.
Positioning the Valve Correctly – Replace a Ball Valve
When positioning the new ball valve, it’s essential to consider the flow direction and accessibility for operation. While 2-way ball valves are bidirectional, positioning the valve handle to point in the flow direction when open can prevent confusion in the future. This ensures a clear indication of the flow direction and simplifies maintenance and repairs.
Securing the Valve to the Pipes
Securing the ball valve to the pipes is essential to prevent leaks and ensure a reliable connection. Properly fitting and securing the valve to the pipes using the appropriate fittings or connectors is critical. This step contributes significantly to the overall effectiveness and longevity of the plumbing system.
Soldering vs. Threaded Connections
When installing a new ball valve, the choice between soldering and threaded connections depends on the specific requirements of the application. Soldering provides a permanent and watertight connection, ideal for copper pipes. On the other hand, threaded connections offer ease of installation and reusability, suitable for various pipe materials. Evaluating the pros and cons of each method based on the project’s needs is crucial for a successful installation.
Testing the New Ball Valve
When replacing a ball valve, it’s crucial to conduct thorough testing to ensure proper installation and functionality. This involves checking for leaks and ensuring the proper function of the new ball valve.
Checking for Leaks – Replace a Ball Valve
After installing the new ball valve, it’s essential to check for any potential leaks. This can be done by pressurizing the system and closely inspecting the valve and its surrounding areas for any signs of leakage. Even a small leak can lead to significant issues over time, so it’s imperative to address any leaks before considering the installation complete.
Ensuring Proper Function
In addition to checking for leaks, it’s important to ensure that the new ball valve functions as intended. This involves testing the valve’s operation, including opening and closing to control the flow of the medium. Proper function also encompasses verifying that the valve effectively stops the flow when closed and allows unrestricted flow when open. Conducting a comprehensive functionality test ensures that the new ball valve operates efficiently within the system.
By meticulously checking for leaks and ensuring the proper function of the new ball valve, you can guarantee a successful replacement that contributes to the optimal performance of the overall system.
Maintenance Tips for Ball Valves
Regular Cleaning
Regular cleaning of ball valves is essential to ensure their smooth operation and longevity. Begin by turning off the valve and relieving any pressure that may be present. Disassemble the valve carefully, making sure to note the position of each component for reassembly. Clean the valve components using a suitable solvent to remove any debris, dirt, or corrosion. Inspect the seals and O-rings for any signs of damage and replace them if necessary. Once cleaned, lubricate the valve components and reassemble the valve, ensuring all parts are properly aligned.
Operational Checks
Conducting regular operational checks is crucial for maintaining the effectiveness of ball valves. Perform a visual inspection to look for any signs of leakage, corrosion, or wear. Operate the valve to ensure it opens and closes smoothly without any sticking or binding. Test the valve under normal operating conditions to verify its functionality. Pay close attention to any unusual sounds or vibrations during operation, as these could indicate potential issues. Keep detailed records of maintenance and inspection activities to track the valve’s performance over time. So you can understand the right time to replace a ball valve.
Conclusion for How to Replace a Ball Valve
In conclusion, replacing a ball valve involves a straightforward process that can be accomplished with the right tools and knowledge. By following the step-by-step guide outlined in this article, you can successfully replace a ball valve and ensure the efficient operation of your plumbing system. Remember to prioritize safety and precision throughout the process to avoid any potential complications. With these instructions, you can confidently tackle the replacement of a ball valve and maintain the functionality of your plumbing system.